A working prototype on your desk is an exciting milestone, but it's not a product yet. Many hardware startups learn this the hard way. The device that works perfectly on a breadboard fails certification, can't be assembled at scale, or costs twice the target price to build.
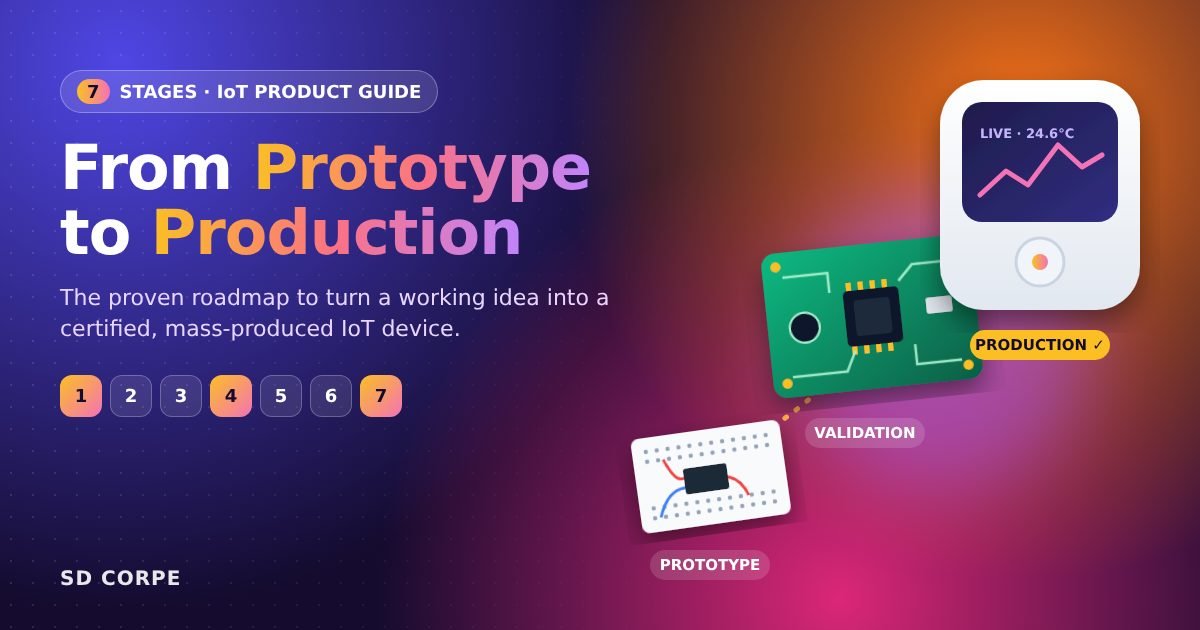
The gap between "it works" and "it ships" is where most IoT projects lose time and money. The good news: it's a well-understood process. In this guide, we walk through the 7 stages of IoT product development, from first idea to mass production, including the EVT, DVT and PVT gates used by leading hardware companies, and what you should get out of each stage.
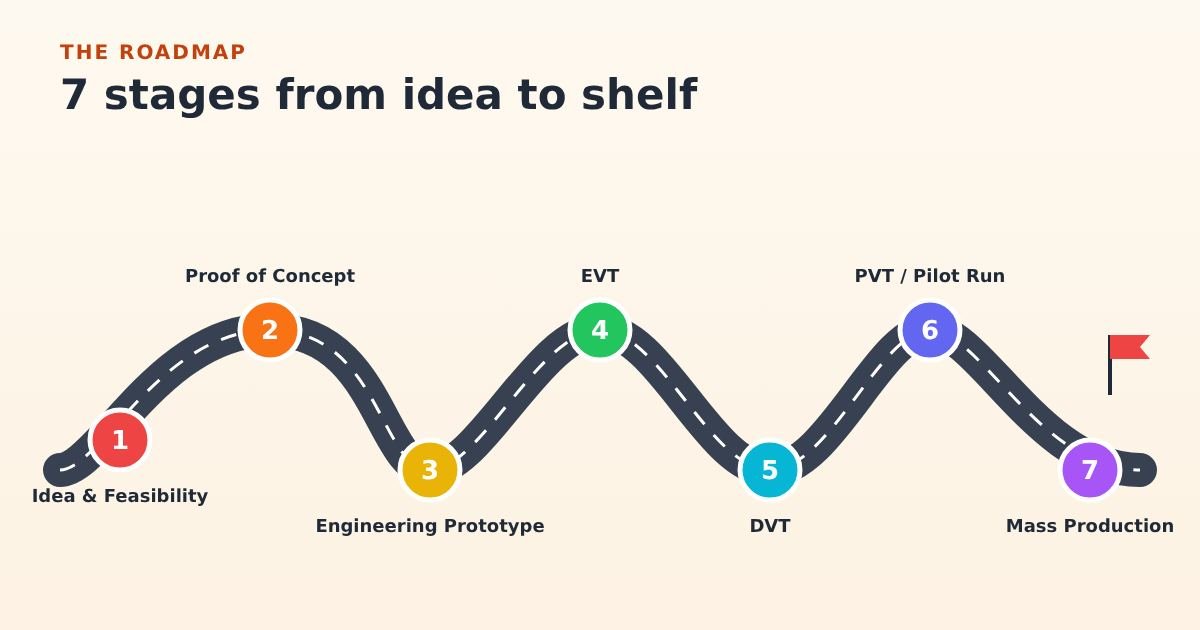
Stage 1: Idea, requirements and feasibility
Every successful product starts with clarity. Before anything is designed, define:
- The problem and the user: who is it for, and what job does it do?
- Core features: must-haves for launch versus nice-to-haves for later.
- Technical constraints: power source, battery life, connectivity, size, environment (indoor, outdoor, industrial).
- Business targets: unit cost, launch date, volumes and target markets (which drive certification).
A feasibility study then checks that the idea is technically and commercially achievable, and identifies the biggest risks early.
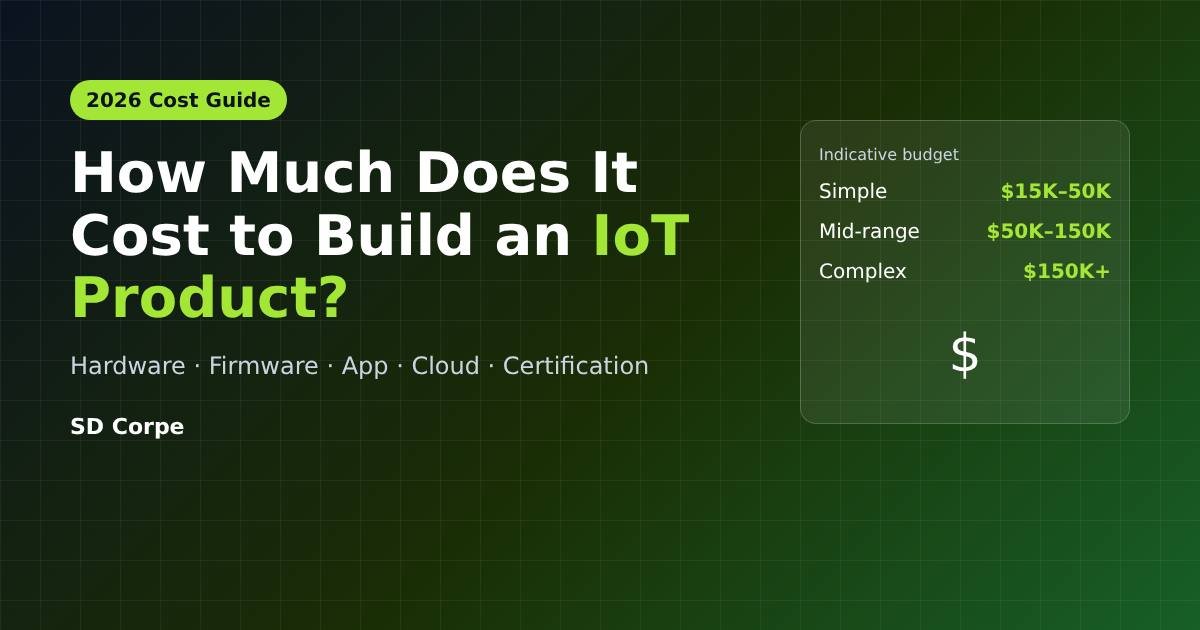
Deliverables: product requirements document (PRD), high-level architecture, a rough cost and timeline estimate. Curious about budgets? Read how much it costs to build an IoT product.
Stage 2: Proof of concept (PoC)
The PoC answers one question: can the core idea work? Engineers use development boards, off-the-shelf sensors and quick firmware to test the riskiest assumptions, such as sensor accuracy, wireless range, or whether the battery can last long enough.
A PoC is deliberately rough. It's not about looks; it's about learning fast and cheaply before investing in custom hardware.
Deliverables: a working demo, test results on key risks, and an informed choice of core components. See our ESP32 vs STM32 vs nRF52 guide for help choosing a microcontroller.
Stage 3: Engineering prototype
Now the real design begins. The team creates the first custom PCB, firmware architecture, early mobile app and cloud backend, and a first enclosure concept (usually 3D printed). This prototype looks and behaves much more like the final product.
- Schematic and PCB layout with design-for-manufacturing in mind
- Firmware foundations: drivers, connectivity, power management, OTA updates
- App and dashboard MVP connected to real devices
- Industrial design and enclosure concept
Deliverables: first functional units that combine hardware, firmware and software end to end.
Stage 4: EVT (Engineering Validation Test)
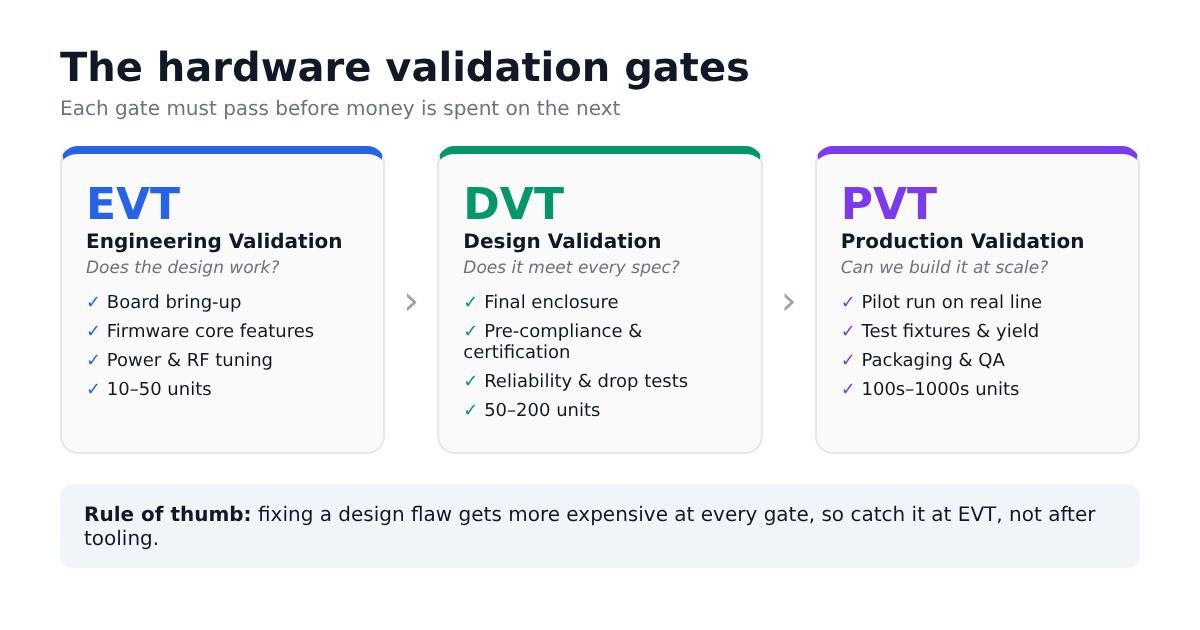
EVT asks: does the design work as intended? A small batch of boards (typically tens of units) is built and tested thoroughly:
- Board bring-up and verification of every circuit
- Power consumption and battery-life measurements
- Antenna tuning and wireless performance
- Core firmware features and stability
Issues found here are fixed with a board revision. This is the cheapest point to fix hardware problems, so thorough EVT testing pays off.
Stage 5: DVT (Design Validation Test)
DVT asks: does the product meet every requirement, in its final form? Units now use the near-final enclosure, often from early production tooling, and go through:
- Pre-compliance and certification testing: EMC, radio and safety (FCC, CE/RED, UKCA, ISED and so on, depending on your markets)
- Reliability testing: temperature, humidity, drop, vibration and ingress protection (IP rating)
- User testing of the app, setup flow and overall experience
- Security review: secure boot, encrypted communication and update integrity
By the end of DVT, the design should be frozen. Changes after this point become expensive.
Stage 6: PVT (Production Validation Test) and pilot run
PVT asks: can we build it consistently, at scale? A pilot run (often hundreds to a few thousand units) is built on the actual production line using final processes:
- Assembly procedures and work instructions
- Automated test fixtures and end-of-line testing
- Firmware flashing, serial numbers and device provisioning
- Yield analysis, packaging and quality control
Pilot units are often used for beta customers, retail samples or final certification. Once yields and quality targets are met, you're ready for mass production.
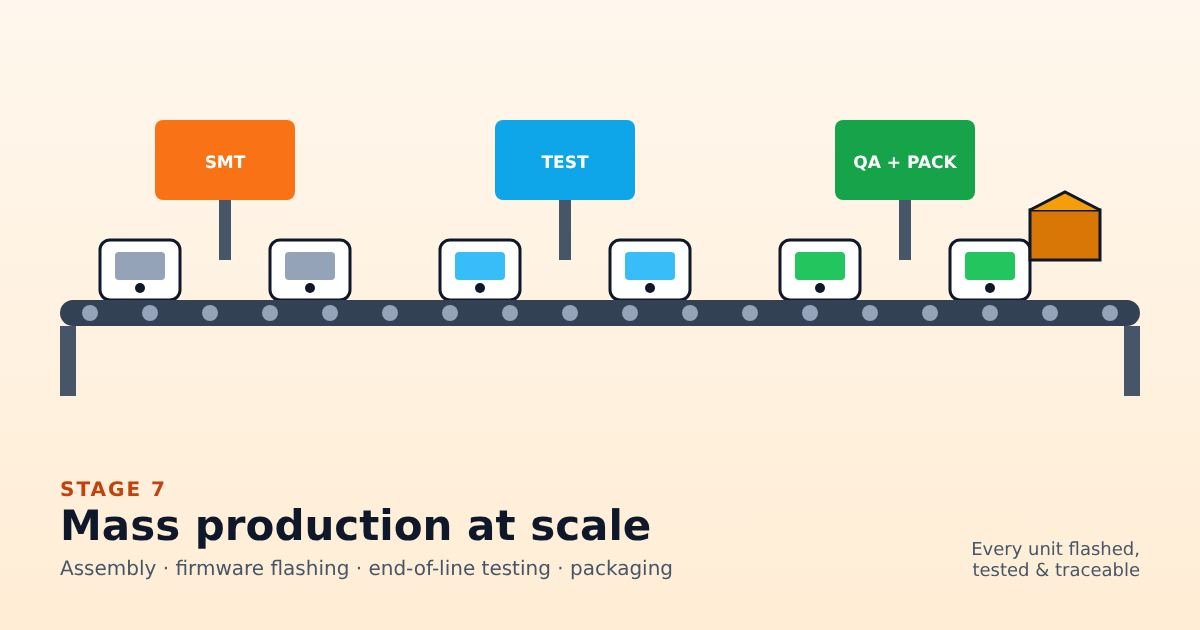
Stage 7: Mass production and post-launch
With the process validated, production ramps up. But for connected products, launch is not the end:
- Quality monitoring: track yields, returns and field failures.
- OTA firmware updates: fix bugs and add features remotely.
- Cloud scaling: infrastructure grows with your device fleet.
- Supply chain management: component lifecycles, alternates and cost reductions.
- Next versions: customer feedback feeds your product roadmap.
A great IoT product isn't just designed. It's designed to be manufactured, certified, updated and supported.
How long does the whole journey take?
Every product is different, but as a rough guide:
- Idea and PoC: 2–8 weeks
- Engineering prototype: 1–3 months
- EVT and DVT: 2–6 months, including certification
- PVT and production ramp: 1–3 months
Overall, most IoT products take roughly 6–18 months from idea to mass production. Running hardware, firmware and software in parallel, and using AI-assisted engineering for software, can shorten this significantly.
Common mistakes that delay launch
- Skipping proper requirements: unclear goals lead to endless redesigns.
- Ignoring certification until the end: late EMC failures can force a board re-spin.
- Designing without manufacturing in mind: parts that are hard to source or assemble raise costs.
- Treating firmware and the app as an afterthought: the user experience depends on them.
- No OTA update strategy: without it, every bug means a recall or a site visit.
- Splitting work across disconnected vendors: integration problems appear at the worst time.
Frequently asked questions
What is the difference between a prototype and a production-ready product?
A prototype proves the idea works. A production-ready product has been validated for reliability, certification, cost, manufacturability and quality, so it can be built consistently in volume.
What do EVT, DVT and PVT mean?
They are hardware validation stages. EVT (Engineering Validation Test) checks the design works, DVT (Design Validation Test) checks the final design meets all requirements including certification, and PVT (Production Validation Test) checks it can be manufactured at scale.
Can I skip stages to launch faster?
Simple products can combine some stages, but skipping validation usually costs more time later. A better way to go faster is to run hardware, firmware and software work in parallel.
When should I start certification?
Plan it from the start, run pre-compliance tests during EVT/DVT, and complete formal certification during DVT or PVT. Using pre-certified wireless modules makes this much easier.
How many units should a pilot run have?
It varies by product and volume targets, but pilot runs typically range from a few hundred to a few thousand units, enough to validate yield and processes.
Take your IoT product from prototype to production with SD Corpe
At SD Corpe, we guide companies worldwide through every stage of IoT product development: requirements, hardware and PCB design, embedded firmware, apps and cloud platforms, certification support and production readiness, all with one team.
Have a prototype that needs to become a product? Book a free consultation, and let's map out your path to production.